How to Find the Right PCB Assembly Factory in China: A Complete Guide
Searching for a PCB assembly factory in China can feel overwhelming. Thousands of factories in Shenzhen alone. Each one claiming to
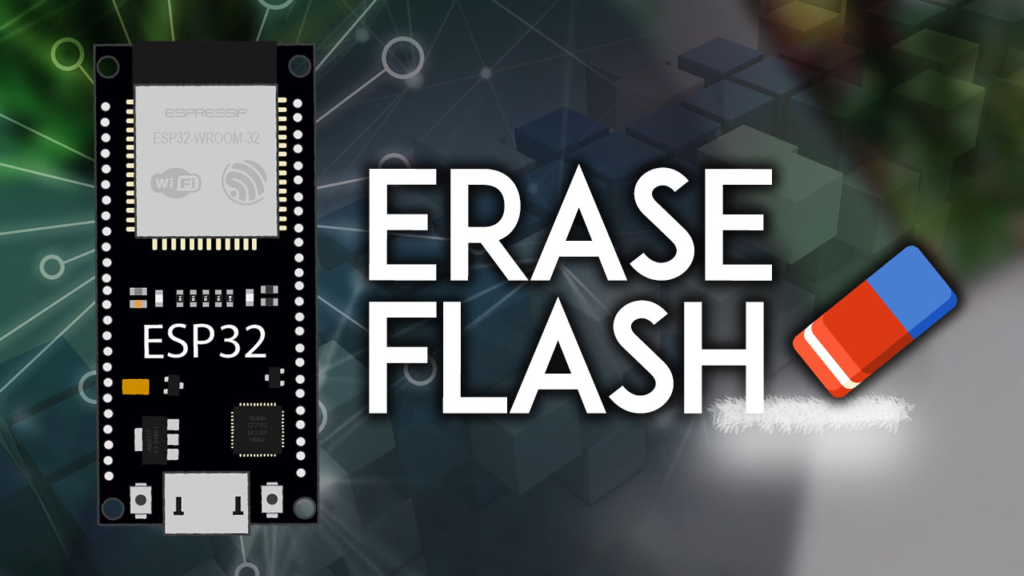
A successful ESP32 factory reset—completely erasing its flash memory—is often the critical first step in recovering a bricked board, clearing corrupted data, or preparing a device for a new owner. While the basic command python -m esptool erase_flash seems simple, the path to executing it is fraught with common pitfalls: Python path issues, driver conflicts, boot mode problems, and misunderstood error messages that leave developers frustrated.
As an embedded systems engineer who has debugged and restored hundreds of ESP32 units—from consumer prototypes to industrial deployments—I’ve consolidated that hard-won experience into this definitive guide. This tutorial goes far beyond the basic syntax. You’ll learn not just how to erase the flash, but how to diagnose why the standard method might be failing, use alternative tools for stubborn cases, and verify the erase was truly successful. We’ll cover the esptool method in-depth, explore the built-in Arduino IDE and PlatformIO options, and even detail last-resort hardware techniques for seemingly dead boards.
Before issuing erase commands, it’s crucial to understand what you’re clearing. The ESP32’s flash memory is not a monolithic block but a structured region containing several critical components:
Bootloader: The first code that runs, responsible for loading the main application.
Partition Table: A map defining the layout of the flash (app, data, OTA, etc.).
Application: Your compiled firmware (e.g., Arduino sketch, ESP-IDF project).
Non-Volatile Storage (NVS): Key-value pairs for configuration data.
WiFi & Bluetooth Data: Calibration and pairing information.
A full factory reset using erase_flash obliterates all these sections, returning the chip to the state it was in when it left the factory—with no bootloader and no code. This is more drastic than a simple “reset” and is the nuclear option for solving persistent problems.
The original tutorial correctly identifies esptool as the essential utility. However, the installation process is where most users encounter their first major hurdle. Let’s solve them systematically.
For Windows Users (The Most Common Pitfalls):
Install Python: Download the latest Python 3.x from python.org. During installation, you must check the box that says “Add Python to PATH”. This single step prevents 80% of “python not found” errors.
Open the Correct Terminal: Do not use Python’s IDLE. Right-click the Windows Start button and select Windows Terminal (Admin), Command Prompt (Admin), or PowerShell (Admin). Administrative privileges are often required to access serial ports.
Install esptool: In the terminal, run:
pip install esptool
If you get an error about pip, try:
python -m pip install --upgrade pip
python -m pip install esptool
Verification: Confirm the installation with a detailed check:
python -m esptool version
You should see output like esptool.py v4.6.2. If you see No module named esptool, your PATH is incorrect.
For macOS and Linux Users:
The process is generally smoother but permissions are key.
# Typically, use pip3 to target Python 3
pip3 install esptool

# If you get a permission error, install for your user only
pip3 install --user esptool

# After --user install, you may need to add the user bin to your PATH
# For bash/zsh users, add this to your ~/.bashrc or ~/.zshrc:
export PATH="$HOME/.local/bin:$PATH"

# Verify
python3 -m esptool version
These errors, mentioned in the article comments, almost always stem from typing commands in the wrong place (e.g., the Python interpreter instead of the system terminal) or a misconfigured system PATH. Use this diagnostic flow:
# 1. Check if Python is accessible
python --version
# or
python3 --version

# 2. Check if pip is accessible
pip --version

# 3. If Python works but pip doesn't, repair pip:
python -m ensurepip --upgrade

# 4. If 'python' command fails, your system PATH doesn't include it.
# You must reinstall Python or manually add its installation directory (e.g., C:\Python311\) to the system PATH.
The core command is simple, but the context around it is everything. Here is the foolproof, detailed procedure.
Disconnect All Peripherals: Remove any sensors, LEDs, or shields connected to the ESP32’s GPIO pins. These can interfere with the boot and flash pins. A bare board is best.
Use a High-Quality USB Cable: Use a cable you know carries both power and data. Charge-only cables will not work.
Identify Your Serial Port: Connect the ESP32 to your computer.
Windows: Open Device Manager and look under “Ports (COM & LPT)”. You’ll see something like “Silicon Labs CP210x USB to UART Bridge (COM5)”.
macOS/Linux: Open a terminal and run ls /dev/tty.* (macOS) or ls /dev/ttyUSB* (Linux) before and after plugging in the board. The new port is your ESP32.
This is the step that causes the “Connecting….” timeout error. The ESP32 must be in a special bootloader mode to accept flash commands.
The Standard Method:
Hold down the BOOT button on your ESP32 (sometimes labeled “IO0” or “FLASH”).
While still holding BOOT, briefly press the EN/RST button.
Release the EN/RST button.
You can now release the BOOT button. The board should now be in download mode, with no user code running.
Why This Works: Holding BOOT/IO0 low at startup tells the ESP32’s ROM bootloader to wait for a serial connection instead of booting the normal application.
Open your terminal and navigate to a convenient directory. The basic command is:
python -m esptool --chip esp32 erase_flash
However, the robust, professional command that specifies the port and baud rate is far more reliable:
python -m esptool --port COM5 --baud 115200 erase_flash
--port COM5: Replace COM5 with your actual port (e.g., /dev/ttyUSB0 on Linux, /dev/cu.usbserial-* on macOS). Specifying the port prevents esptool from scanning all ports and timing out.
--baud 115200: Sets the communication speed. If you encounter errors, try a lower baud rate like 9600 or 460800.
erase_flash: The command to perform a full chip erase.
Expected Successful Output:
esptool.py v4.6.2
Serial port COM5
Connecting....
Chip is ESP32-D0WDQ6 (revision 1)
Features: WiFi, BT, Dual Core, 240MHz, VRef calibration in efuse, Coding Scheme None
Crystal is 40MHz
MAC: aa:bb:cc:dd:ee:ff
Uploading stub...
Running stub...
Stub running...
Erasing flash (this may take a while)...
Chip erase completed successfully in 5.1s
Hard resetting via RTS pin...
The “Chip erase completed successfully” message is your confirmation.
Manual Reset: After the process, you may need to press the EN/RST button to start the board. It will now do nothing (or enter a boot loop if a serial monitor is open) because there is no firmware.
Verification: To be absolutely sure the flash is empty, try reading a small part of it:
python -m esptool --port COM5 read_flash 0x0 0x100 flash_dump.bin
You can then inspect flash_dump.bin with a hex editor. A truly erased flash (usually filled with 0xFF bytes) confirms success.
Upload New Firmware: Your ESP32 is now a blank slate. You can upload any new sketch from Arduino IDE, PlatformIO, or ESP-IDF.
This section addresses every error from the original article’s comments and more.
Cause: The ESP32 is not in download mode. It booted normally into its existing (often corrupted) application.
Solution: Revisit Step 1 above. Ensure you hold BOOT, tap RST, then release BOOT before running the esptool command. Double-check that no other wires are pulling GPIO0 high or low.
Cause A: Wrong or unstable serial port.
Fix: Confirm the port in Device Manager/System Report. Try another USB cable or port on your computer.
Cause B: Driver issues (common on Windows with CH340/CP210x chips).
Fix: Visit the manufacturer’s site (Silicon Labs for CP210x, WCH for CH340) to download and install the latest USB-to-UART bridge driver. Uninstall old drivers first.
Cause: This is a more serious hardware or electrical issue. The ESP32’s bootloader stub is running, but it cannot talk to the external flash memory chip.
Solutions:
Ensure you are using a stable external power supply if your project draws significant current. USB power may be insufficient.
This error can indicate a failed flash memory chip. As a last resort, try the “ROM Bootloader” method described in the Advanced section below.
Cause: As diagnosed in Section 2, this is a Python environment issue.
Fix: You are likely typing pip commands directly into a Python shell (>>>). Close that and use your system’s terminal (Command Prompt, PowerShell, Terminal.app, bash).
If you can still upload code, this is the simplest method.
Open Arduino IDE with your ESP32 board selected.
Go to Tools > Erase All Flash Before Sketch Upload and select “All Flash Contents.”
Upload any simple sketch (e.g., bare minimum setup() and loop()). The IDE will perform a full erase before writing the new sketch.
In the PlatformIO sidebar, click on Project Tasks > your board > Platform > Erase Flash. This provides a clean GUI-based approach.
For those who prefer a GUI, Espressif offers the Flash Download Tool.
Download and run the tool.
Select ESP32 as the chip type.
Choose the correct COM port.
Under ERASE, click Erase and then START. No binary files need to be selected.
If the normal bootloader is corrupted, the ESP32 has a fallback ROM bootloader hard-wired into the silicon. To use it:
Hold down the BOOT button. Do not release it.
Run the esptool command with an extra --before no_reset argument to prevent the tool from trying to reset the chip automatically.
python -m esptool --port COM5 --baud 115200 --before no_reset erase_flash
Only release the BOOT button once you see the “Connecting….” message start. This sequence forces communication through the ROM bootloader.
Some boards, especially clones, have unstable auto-reset circuits. As mentioned in the comments, placing a 10µF electrolytic capacitor between the EN pin and GND can stabilize the voltage during boot, making it easier to enter download mode reliably. Add the capacitor, follow the boot mode steps, and try the erase command again.
Successfully erasing your ESP32’s flash memory is a fundamental skill for any developer. By moving beyond the basic command to understand the boot modes, mastering the installation of required tools, and having a systematic troubleshooting plan for every common error, you can recover almost any board.
Remember the key takeaways:
Preparation is Critical: A bare board, a good cable, and the correct drivers prevent most issues.
Boot Mode is Everything: If esptool can’t connect, you didn’t get the BOOT/EN button sequence right.
Specify Your Port: Using --port COMx in your command eliminates ambiguity.
You Have Options: If esptool fails, try Arduino IDE’s erase function or the Espressif Flash Download Tool before declaring a board dead.
With a freshly erased ESP32, you have a clean foundation. The next step is to upload your new application with confidence, knowing the old data and settings are completely gone. For continued learning, explore the official Espressif esptool documentation which covers even more advanced commands and options.
======================================
No account yet?
Create an Account