Custom Display Manufacturing in China: A Complete Guide to Sourcing Screens
Whether you are developing an IoT device, a medical instrument, or consumer electronics, the display is often the most critical
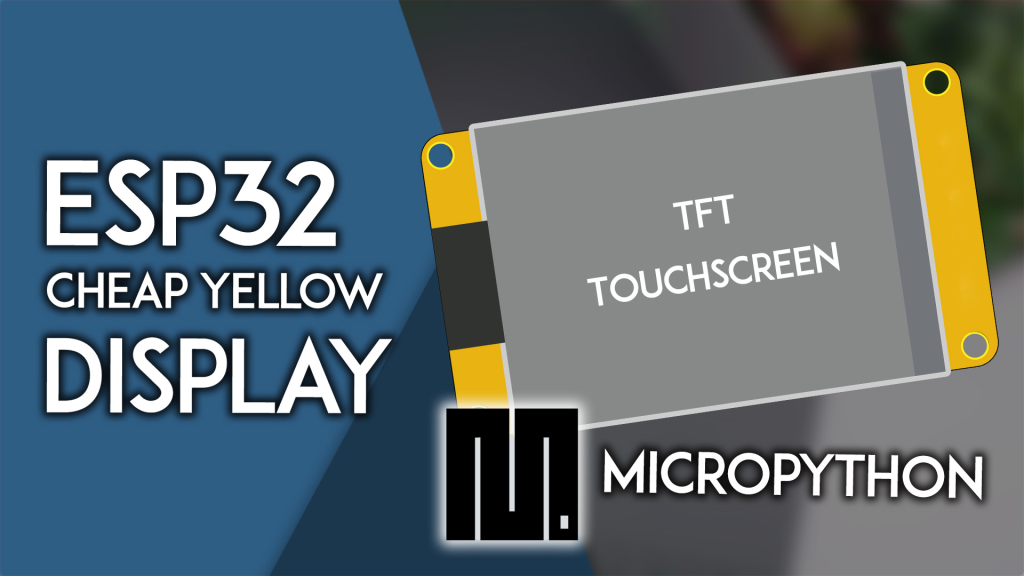
Are you searching for an all-in-one, low-cost development board with a built-in touchscreen to build your next IoT project? The ESP32 Cheap Yellow Display (CYD), officially known as the ESP32-2432S028R, has become the maker community’s favorite for good reason. It combines a powerful ESP32 chip with a 2.8-inch TFT touch display, all for a price that makes prototyping graphical user interfaces (GUIs) accessible to everyone.
This guide is your complete resource. We’ll go beyond a simple tutorial. You’ll learn exactly what makes this board a game-changer, where to buy it for the best price, and—most importantly—how to get it running with MicroPython in under 30 minutes so you can start building your own projects immediately.
Before diving into code, it’s crucial to understand why you should choose the CYD over other options. The ESP32-2432S028R eliminates the hassle of wiring a separate display module to an ESP32. Everything you need is integrated onto a single board:
Core Processing: Built around the ESP32-WROOM-32 module with a dual-core 240MHz MCU, 520KB SRAM, and 4MB Flash. It includes integrated Wi-Fi and Bluetooth, making it perfect for connected projects.
Integrated Display: A 2.8-inch TFT LCD with the ILI9341 driver (240×320 resolution). This provides vibrant colors and sharp text for your interfaces.
Built-In Peripherals: The board includes a resistive touchscreen, a microSD card slot, an RGB LED, and even an LDR (light-dependent resistor). This means you can start building complex projects immediately—like data loggers, smart home controllers, or weather stations—without any additional components.
Convenience: Using the CYD is much more practical than connecting a separate display, which requires numerous jumper wires and can be prone to connection issues. It’s a stable, compact platform for creating polished devices.
Display: 2.8″ TFT, ILI9341 driver, 240×320 pixels, resistive touch (XPT2046)
MCU: ESP32-WROOM-32, 240MHz, 4MB Flash
Power: 5V operating voltage (~115mA consumption)
Extras: microSD slot, RGB LED, LDR, accessible GPIOs (at least 4 free pins)
Dimensions: 50.0 x 86.0 mm
Programming Options: Arduino IDE, MicroPython, ESP-IDF
Ready to get one? The board is widely available. To make a confident purchase and get your project started on the right foot, consider these factors:
Check Seller Ratings: Look for sellers on platforms like AliExpress, Amazon, or esp32s.com with high ratings and positive feedback from other buyers. This helps ensure you receive a genuine, functioning board.
Compare Price & Shipping: Prices can vary. A quick search for “ESP32-2432S028R” or “Cheap Yellow Display ESP32” will show several options. Factor in shipping time and cost, especially if you need the board quickly.
Verify the Version: Ensure the listing explicitly mentions the ESP32-2432S028R with the ILI9341 display and touch function. Most listings are standard, but it’s good practice to confirm.
Consider Bundles: Some sellers offer bundles that might include a USB cable or a basic enclosure. This can save you an extra trip to the electronics store.
(Note: For your convenience, you can click the link here to check current prices and availability on popular stores.)
Once your board arrives, you’ll want to see it working. This section provides a streamlined, project-ready approach to setting up the CYD with MicroPython.
Your CYD Board: ESP32-2432S028R.
A USB Cable: A good quality USB-A to micro-USB cable for power and programming. Ensure it’s a data cable, not just a charging cable.
MicroPython Firmware: You need to flash the MicroPython firmware onto the ESP32. The official MicroPython website has the latest .bin file for the ESP32.
Thonny IDE: We highly recommend Thonny. It’s a simple, powerful Python IDE that makes uploading code and interacting with your board effortless. (You can find setup guides in our MicroPython introduction series).
To control the display and touch, you need specific drivers. The most reliable set is maintained by GitHub user rdagger. Here’s the quick installation method using Thonny:
Download the Driver Files:
ili9341.py (Display driver): Click here to download the code
xpt2046.py (Touch driver): Click here to download the code
Upload to Your CYD:
Open Thonny IDE and connect your CYD board.
For each file (ili9341.py, xpt2046.py):
Copy the entire code from the link.
Paste it into a new Thonny window (File > New).
Go to File > Save As… and select “MicroPython Device”.
Save the file with its exact name (e.g., ili9341.py). This is crucial for the import statements to work.
Now, let’s write a simple script to light up the display and show some text. This verifies your setup is perfect.
Create a new file in Thonny and paste the following code:
# Your First CYD MicroPython Script
from machine import Pin, SPI
import ili9341
import time

# Define the pins for the CYD board
spi = SPI(2, baudrate=40000000, sck=Pin(18), mosi=Pin(23))
dc = Pin(2, Pin.OUT)
cs = Pin(5, Pin.OUT)
rst = Pin(4, Pin.OUT)

# Initialize the display
display = ili9341.Display(spi, cs, dc, rst)

# Clear the screen with a color (e.g., black)
display.clear(display.color565(0, 0, 0))

# Draw some text
display.draw_text(50, 100, 'Hello, CYD!', display.color565(255, 255, 255), background=display.color565(0, 0, 0))
display.draw_text(30, 150, 'MicroPython Rocks!', display.color565(0, 255, 0))

print("Display test complete!")

# Optional: Blink the onboard RGB LED
led_red = Pin(4, Pin.OUT) # Check your board's pinout; this is a common assignment
while True:
    led_red.value(1)
    time.sleep(0.5)
    led_red.value(0)
    time.sleep(0.5)
Run the script (click the green Run button). If your display lights up with the text, congratulations! Your CYD is ready for action.
Your CYD is now a powerful platform. Here’s what you can build next, leveraging the built-in features:
Smart Home Controller: Use the touchscreen to create buttons for controlling lights or reading sensors around your house via Wi-Fi.
Portable Weather Station: Combine the display with online APIs or external sensors (via the free GPIOs) to show forecasts and local data.
Data Logger: Use the microSD card slot to log sensor readings over time, displaying graphs directly on the screen.
Retro Game Console: The touchscreen and ESP32‘s power are enough to run simple games like Pong or a puzzle game.
The ESP32 Cheap Yellow Display is more than just a cheap board; it’s a launchpad for creating professional-looking, functional IoT devices with minimal hassle and cost.
Ready to stop reading and start building?
Get your ESP32 Cheap Yellow Display today and join thousands of makers creating incredible projects.
Check the latest price and buy your CYD board here to begin your next project.
======================================
No account yet?
Create an Account