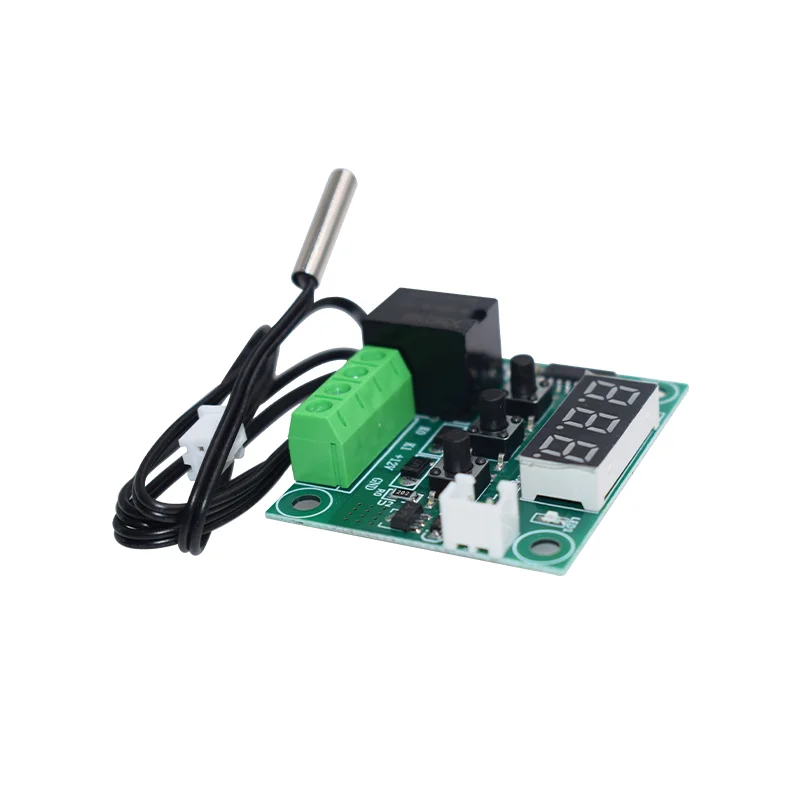
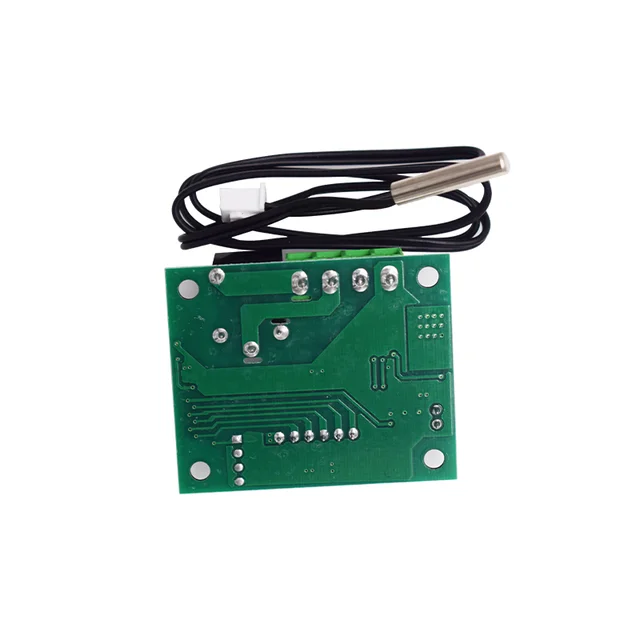
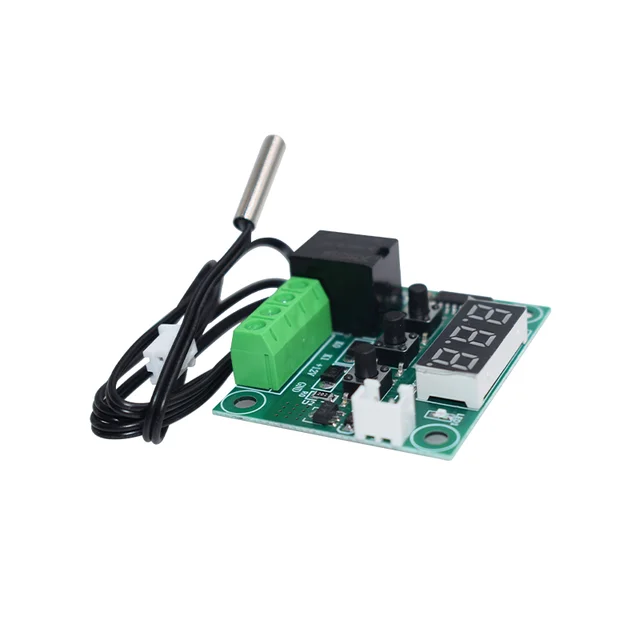

- High-concerned chemical: None
- is_customized: Yes
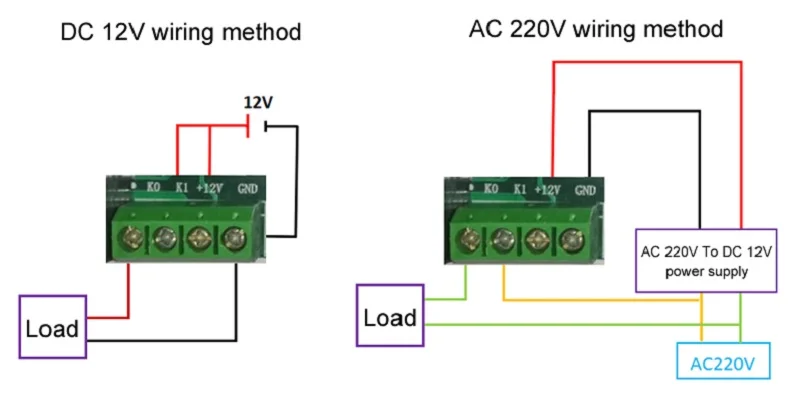
- Supply Voltage: DC 12v
- Application: Computer
- Type: Module
- Brand Name: NoEnName_Null
- Origin: Mainland China
- Condition: New
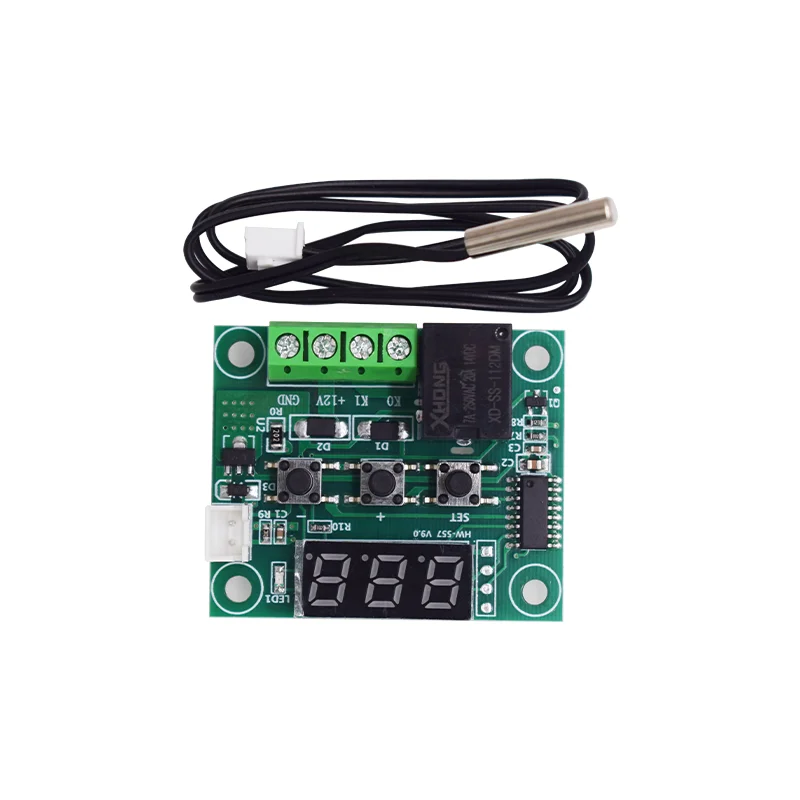
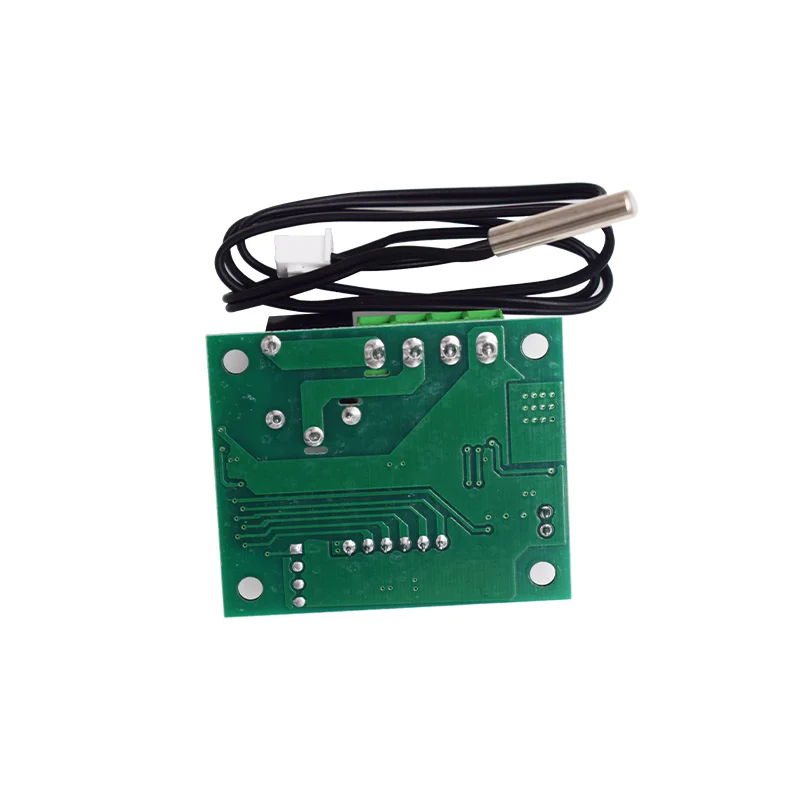
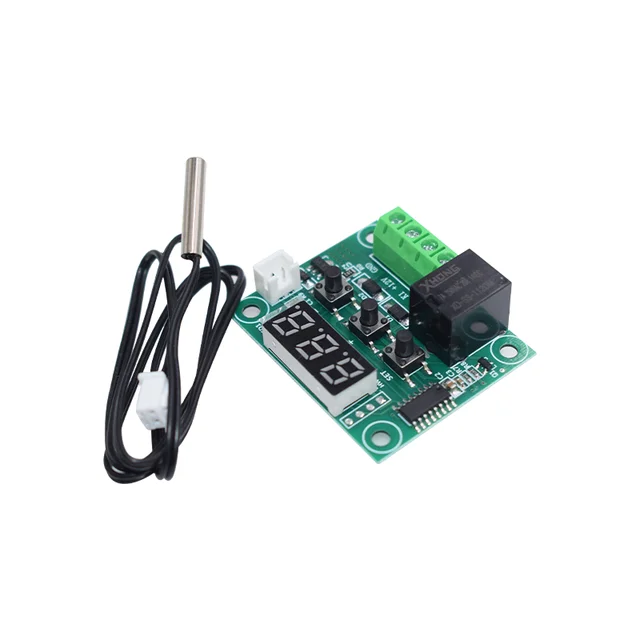
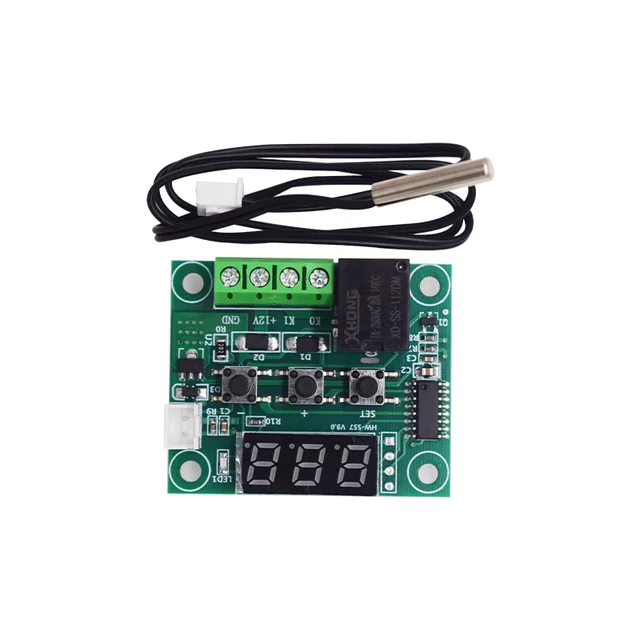
- Model Number: W1209 LED Display Digital Thermostat Module
Product parameters:
Supply voltage: DC12V
Temperature control range:- 50℃~110℃
Temperature control accuracy: 0.1 ℃
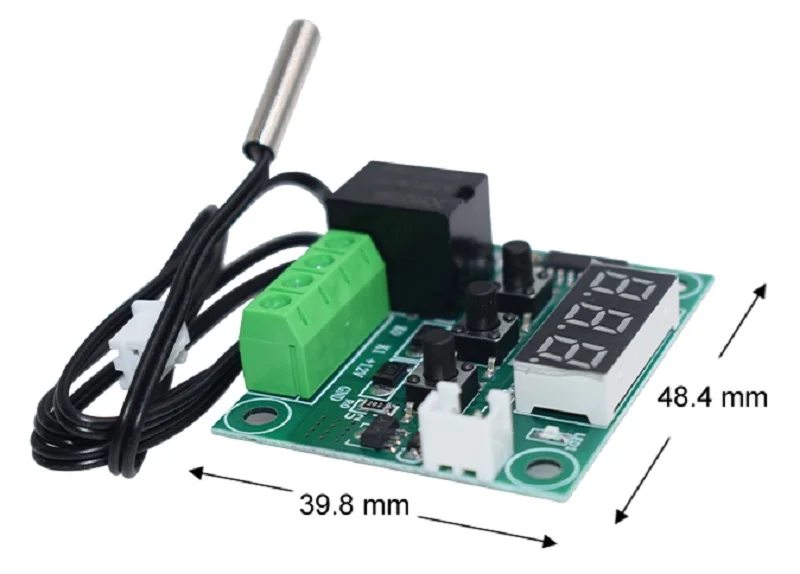
Digital tube: The display mode is a three in one digital display
Probe type: NTC10K/B3950, Waterproof probe L=0.5 meters
Output type: Relay output 10A
Application scope:
Can be used for chassis temperature control, poultry hatching, air conditioning systems, temperature protection, and other occasions.
Special Note:
1.K0 and K1 are relay on/off interfaces. Relays act as switches and are passive outputs used to control the on/off of load circuits.
2.The display of LLL on the digital tube indicates a sensor malfunction, and the probe wire can be checked for detachment or breakage.
3.The display of HHH on the digital tube indicates that the detected temperature exceeds 110 ℃, and the temperature can be lowered to continue use. If the fault persists, you can check if the probe connection wire is short circuited. Pulling it off and displaying LLL indicates that the motherboard is normal
4. After power off, press and hold the+- buttons at the same time to power on again. The digital display will show 888, which will restore the factory settings.
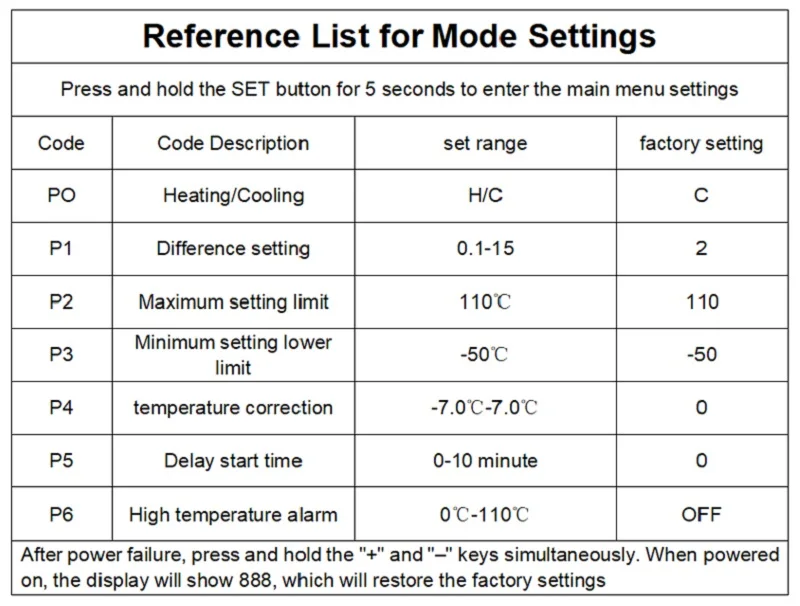
instructions:
After connecting the wires, the controller will power on and display the current real-time temperature. Press the SET button briefly and it will flash to set the stop temperature. Then press the SET button again to return to the current real-time temperature. Press and hold the SET button for 5 seconds until “P0” is displayed, indicating that you have entered the mode setting interface. The setting process is as follows:
Press the“+” and “-” key to select mode (PO-P6)>press the SET key to enter mode settings parameters>press the“+” and “-” key to select parameter values>press the SET key to return to mode settings>long press the SET key or wait for 10 seconds to automatically save and return to the real-time temperature display interface.
Heating mode:
When the temperature setting value return difference is ≤ the temperature measurement value, the relay conducts; When the temperature measurement value is greater than or equal to the temperature setting value, the relay will disconnect.
Example: Control the radiator to heat up to 60 ℃ and stop, then cool down to 50 ℃ and start again.
Heating mode needs to be set with a temperature difference of 10 degrees, which should be set as follows:
1.When displaying the temperature normally, press SET once to flash the temperature and set the stop temperature value to 60
2.Long press SET to display P0 and set working mode H
Set P1 return value to 10
Cooling mode:
When the temperature setting value+hysteresis value ≥ temperature measurement, the relay is turned on; When the temperature measurement value is ≤ the temperature setting value, the relay will disconnect.
Example: Control the refrigerator to cool down to -5 ℃ and stop. When the temperature rises to 0 ℃, start cooling again.
The cooling mode needs to be set with a hysteresis value of 5 ℃, which should be set as follows:
1.When displaying the temperature normally, press SET once to flash the temperature and set the stop temperature value to -5
2.Long press SET to display P0 and set working mode C
Set P1 return value to 5
P0: Working mode
When using the thermostat for the first time, the mode must be set. If it is used for heating (low temperature start, high temperature stop), it should be set to H; If used for refrigeration (high temperature start, low temperature stop), it should be set to C.
P1: Return difference setting
Long press the SET button to enter the setting mode, select P1, and then press the SET button again to set the hysteresis value. (Return difference refers to the difference required for the controller to resume operation after reaching the set temperature, for example: when set to heating mode, heating to 40 ℃, stopping at 35 ℃, and starting again, the return difference is 5).
P2/P3: Limit set value (non temperature controlled)
P2 limits the maximum set value (non temperature controlled), P3 limits the minimum set value (non temperature controlled) with a minimum distance of 5 degrees between high and low
For example, if P2 is set to 50, the maximum set stop temperature can only be set to 50.
P4: Temperature correction
If there is a deviation between the detected temperature and the actual temperature, this function can be used for calibration. The actual temperature value is equal to the temperature control measurement value plus the calibration value. For example, if the temperature controller detects a temperature of 25.6 ℃ but the actual temperature is 25.8 degrees, P4 can be set to 0.2, and the final displayed temperature of the temperature controller is 25.8 (25.8=25.6+0.2).
P5: Delayed start
This function is generally used for compressor refrigeration. If you purchase this thermometer for use in a refrigerator cabinet, this value must be set. Depending on the magnitude of the back pressure, it is generally set to 3-6 minutes. If you do not control the compressor or do not need a delay function, skip this option directly.
P6: High temperature alarm
Set the high temperature alarm value. When the temperature exceeds this value, the screen will display an alarm prompt. The high temperature alarm value must be greater than the stop temperature value to be effective.